Search This Blog

Showing posts with label birthday. Show all posts

Monday, December 16, 2013

Top 10 Kitchen Gadgets/Tools


Are you looking for some last minute Christmas gifts? Maybe you are registering for your wedding and would like to build up a quality set of kitchen tools (who needs crystal candle stick holders?). Well, fire up your Amazon Prime account, and get shopping!
Time to upgrade

Top 10 Kitchen Tools
(no, I was not paid to endorse any of these items, but if you work for one of these companies, get in touch with me!)

1.       12-in non-stick skillet with cover
2.       kitchen aid mixer
3.       dutch oven
4.       stackable cooling racks
5.       julienne peeler
6.       kitchen scale
7.       Thermapen
8.       lilly pad cover
9.       microplane
10.   magnetic measuring spoons

1.       12 inch non-stick skillet: This is my go-to to make dinner. I like the 12-inch size because it's large enough to hold a pound of pasta + sauce + meat +veggies or a stir-fry. I also like my skillet to have rounded sides so I can toss items while I sauté. I also like the skillet to have a cover that helps with cooking things through or steaming veggies. You can pay anywhere from $10 to $100+ on one of these skillets, so go with what you like. I had a great one for about 5 years but it eventually wore out and the non-stick coating started to flake off (yum!). I replaced it with a $95 skillet that I like but it's not holding up as well as I thought it would.
2.       Kitchen Aid Mixer: What can I say? I'm a baker and I love my mixer. I got it as a gift from my mother-in-law and I use it all the time. It’s a pricy piece of equipment but it's so useful and it makes baking so easy. I love that it comes in a bunch of colors, comes with a paddle, whisk, and dough hook, and you can buy a bunch of other attachments to make it do all kinds of things (make pasta, grind meat, juicer, ice cream maker, etc). I have also purchased a scraping paddle attachment which is great because I don't have to scrape down the sides of the bowl as much.
3.       Lodge Dutch Oven 6 quart: Everyone who likes to make soups, stews, or roasts should have a large cast iron Dutch oven. I use mine at least once a month to make a soup. They hold their heat really well, don't burn the food (great for caramelizing onions for French onion soup), and hold up to a lot of abuse. Yes, they are heavy. Yes, le creuset is the top brand but the price difference between lodge and them is huge ($275 for Le Creuset vs $80 for the Lodge). It’s a great staple and will last forever.
Not my kitchen. Yet. (Mine is about 1/20 of this size)
4.       Stackable Cooling Racks: If you have limited space in your kitchen and you like to bake a lot of cookies, you need a set of stackable cooling racks. They fold up nearly flat for storage but can hold 3 pans worth of cookies in the space of one rack. Plus, they're cheap. Sold.
5.       Julienne Peeler: If you would like to add some extra veggies to your diet, check out this item. It makes perfect small julienne cuts (matchstick) of vegetables like carrots, zucchini, squash, etc that can be added to pasta dishes or stir-fries. I also use it to get small pieces of carrot to add to my sushi rolls. My hubby, who says he doesn't like zucchini will eat it if it's julienned into a pasta dish. I like this one because it works just like a veggie peeler, is dishwasher safe, and seems to hold up well after many uses (even on hard vegetables like carrots).
6.        Kitchen Scale: I love my kitchen scale. I like this one because it was small, cheap, and had a bunch of nice features (tare or zero, several weight scales, etc). I use it to get precise measurements of flours and sugars, because serious bakers know that flour can vary in weight depending on how compact it is. To truly know what you are adding, you need to measure your dry goods by weight. This comes in very handy if you start using recipes written in metric. It's also nice to get a handle on serving sizes when on a diet (cereal serving sizes are deceptively small!).
7.       Thermapen: Have you ever over cooked a steak or chicken? Over cooked a cake? Well, with a good, accurate thermometer, this is no longer an issue. And Thermapens are top of the line. Yes, they are expensive, but they are super fast (3 seconds or less), extremely accurate, and can hold up to abuse. I just got one for Christmas, and I'm so excited to use it!
8.       Lilly-Pad Cover: This was an unexpected find for me. I don't often make impulse purchases, and I usually do a bit of research before buying anything, but this did it for me. The lilly-pad cover works great for sealing up bowl or plates without annoying cling-wrap. Its microwave and dishwasher safe, there is no adhesive, but its strong enough to lift a large glass bowl. I have the medium size and it just fits a 4 quart glass mixing bowl.
9.       Microplane: You have one of these, right? Right? No?!?! Ugh. Get one. Now. I use this microplane all the time. It grates fresh parmesan cheese, ginger, fresh nutmeg, garlic, zests citrus, etc. I use it at least 2x a week. It cleans up nicely in the dishwasher and has a nice plastic cover to keep the blade (and your hands) safe. And it's less than $13. Buy one.
10.   Magnetic Measuring Spoons: I hate it when I lose a measuring spoon. Or when I have to use one spoon on the ring and they all get dirty when I put them down. Well, no more. This set clicks together magnetically, stores easily, and has round and oval sides for easy scooping into small containers. Again, they're inexpensive but will be used for years. Also dishwasher safe!


I hope you liked this list. Are there any gadgets you use regularly that you would recommend?

Thursday, October 4, 2012

Samoa Cake


This time of the year is full of fun fall treats. But sometimes, its nice to have something other than pumpkin, ginger, and peppermint. I'm talking about something that quickly jumps into our lives at the end of the winter, making a short appearance, and than disappearing as quickly as it came. I'm talking about Girl Scout Cookies!


I was a Girl Scout for many many years. I joined as a Brownie... I think I was just entering 3 grade. In Brownies, I met some of my best friends (one of whom was my maid of honor this past spring), and after that first year I went to Girl Scout Camp. I continued though scouts way past an age where it was "cool" and  went to camp every summer. When I turned 16 I became a camp counselor and later a camp lifeguard... in total I was part of the scouts for ~13 year!
Some areas call Samoas "Caramel deLites." 
This is a travesty and there is nothing "lite" about these cookies!

Of course, along with camp-outs, silly songs, and crafts, I sold plenty of cookies. My favorites were always Samoa (purple on the order form and box) and Thin Mints (dark minty green). When the order forms arrived, the first day to sell was always a snowy day (providing pity purchases from some of our neighbors), and they arrived a few weeks later. Invariably, we ate all the cookies within a week or two (depending on how well my mom hid them). And that's one of the reason why camp was so much fun...

See, after cookies sales are done, there are always plenty of cases leftover that are given to the local camps as a special treat for the campers. Every summer, deep in the camp's freezers, there were boxes and boxes of yummy girl scout cookies!

But alas, you are not a girl scout, nor a camper. And it is many months before you will have access to their amazing (albeit expensive cookies). So what should you do??? Make a Samoa Cake!!!

Samoa Cake
1 boxed white or yellow cake (with oil/egg/water as needed)
1/4 cocoa powered (optional)
3 cups coconut
Caramel Frosting (see below)
8 oz chocolate chips


First, prepare the cake batter as directed on the box. For a marbled cake, separate the batter into two bowl (roughly in half) and add the cocoa power to one bowl, mix to combine. Layer the batter into a (oiled and floured) bundt pan, and swirl it gently together. Bake as directed. Cool for a few minutes and then gently turn it out onto a plate.

In a 300 degree oven, toast the coconut (spread onto a large pan) for about 15 minutes, checking and stirring every few minutes. Meanwhile make the caramel frosting. When the cake is cool, frost it with the caramel frosting and pat the coconut into the frosting so that it sticks. Melt the chocolate chips, and drizzle the melted chocolate over the cake (this can be done easily by putting the chocolate into a plastic baggie, and cutting the tip off to use as a disposable pastry bag).

Caramel Frosting: http://www.pauladeen.com/recipes/recipe_view/caramel_frosting/

This cake makes a mess, but it is so yummy!

Friday, October 14, 2011

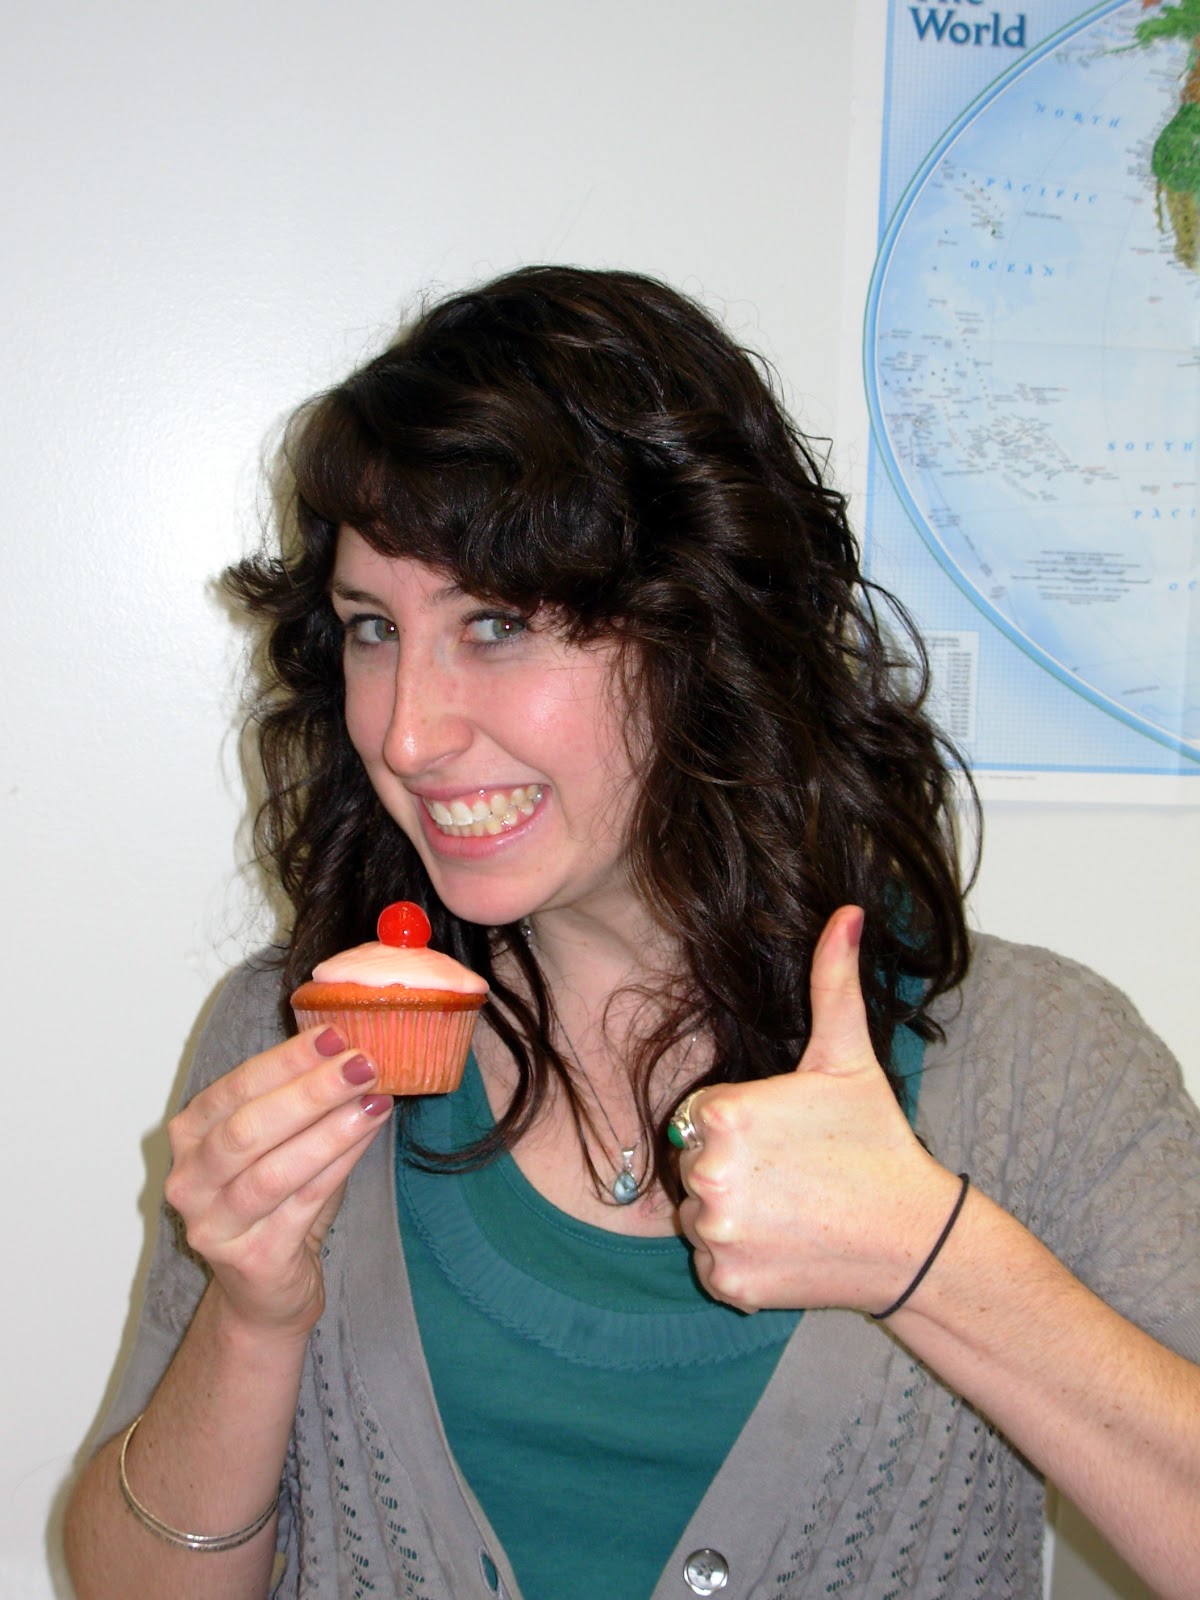
Happy Birthday Ariel: Shirley Temple Cupcakes!

Admit it. You love Shirley temples. Sprite (or 7up), grenadine, and maraschino cherries. Such simple, syrupy awesomeness. All in honor of Ariel.


Ariel is one of my best friends. Always funny, energetic, and easy to talk to. We cause chaos where ever we go. Shirley temples are one of her favorite things, so these cupcakes were made for her.

I made a batch of Shirley temple cupcakes for Ariel last year and they tasted good but the look and texture wasn't right. They were a little orange and didn't rise. Also, the wrappers fell off. Very strange.

So this year is a redo. And the are awesome.

Shirley Temple Cupcakes, take 2

1 box white cake mix (I used Duncan Hines)
          the mix calls for 3 eggs, 1/2 cup oil, and 1 1/3 cups water (I used Sprite)
To the Sprite I added ~1 T of cherry flavoring (I found it at Walmart next to the almond extract) and some red food coloring.
I also diced up ~1/2 cup of maraschino cherries, dusted them with flour (so they wouldn't sink) and mixed them into the batter for an extra cherry punch

Mix and bake (350 degrees, ~18-20 mins)

For the frosting:
1/2 cup butter, softened
~3-4 cups powdered sugar
a few drops of cherry flavoring
several T of sprite and grenadine

Mix together and frost the cupcakes!

Very sweet, very girly, very yummy

They were a hit with Molly too!

Me and the birthday girl!

Saturday, October 8, 2011

Red Velvet Whoopie Pies for Karin

Tomorrow is one of my best friend's, Karin, birthday. As is tradition (two years and counting) I asked her what she wanted for her birthday. Her request: Red Velvet Whoopie Pies! Yum...


So these whoopie pies are dedicated to Karin, a great friend and confidant. She's been there for me quite a lot the last few years, helping me with personal and school related crises. She's always around for a laugh or a quick therapy session, sometimes both (she always knows what to say to keep me sane!). So here's to Karin!


Whoopie Pies: The new cupcake


Red Velvet Whoopie Pies:
recipe adapted from: www.browneyedbaker.com


Yield: About 2 dozen assembled whoopie pies
Prep Time: 20 minutes | Bake Time: 40 to 50 minutes total
For the whoopies:
3 cups all-purpose flour
1/3 cup cocoa powder (sifted)
1 teaspoon baking powder
½ teaspoon baking soda
½ teaspoon salt
½ cup unsalted butter, at room temperature
½ cup vegetable shortening
½ cup light brown sugar
1 cup granulated sugar
2 eggs
2 teaspoons vanilla extract
3+ teaspoons red food coloring (depends on how red you wanted them, the batter will darken a bit when baked)
1 cup buttermilk (or buttermilk powder, which I highly recommend, because who needs a whole carton of buttermilk that they have to use up)
For the cream cheese filling:
8 ounces cream cheese, at room temperature
8 tablespoons unsalted butter, at room temperature
7 cups powdered sugar
2 teaspoon vanilla extract
1. Position a rack in the center of the oven and preheat the oven to 350 degrees F. Line two baking sheets with parchment paper; set aside.
2. Whisk together the flour, cocoa powder, baking powder, baking soda, and salt in a medium bowl; set aside.
3. In the bowl of a stand mixer with a paddle attachment, beat together the butter, shortening and both sugars on low speed until just combined. Increase the speed to medium and beat until fluffy and smooth, about 5 minutes. Add the eggs one at a time, beating well after each addition. Add the vanilla and the red food coloring and beat until just blended.
4. Add half of the flour mixture and half of the buttermilk to the batter and beat on low until just incorporated. Scrape down the sides of the bowl. Add the remaining flour mixture and remaining ½ cup buttermilk and beat until completely combined.
5. Using a spoon (or a medium cookie scoop, which is what I used), drop a ball of batter onto one of the prepared baking sheets and repeat, spacing them at least 2 inches apart (they really spread). Bake one sheet at a time for about 15 minutes each, or until the cakes spring back when pressed gently (check, don't just assume). Remove the baking sheet from the oven and let the cakes cool on the sheet for about 5 minutes before transferring them to a rack to cool completely.
6. While the cakes are cooling, prepare the filling… In the bowl of a stand mixer with the paddle attachment, beat together the cream cheese and butter on medium speed. Add the sugar and beat on low speed until combined. Add the vanilla and increase the speed to medium-high; beat until creamy and smooth, about 4 minutes.
7. To assemble: Spread the filling onto the flat side of one cake using a knife of spoon. Alternatively, you can use a pastry bag with a round tip (I used a large star tip) to pipe the filling onto the cake. Top it with another cake, flat-side down. Repeat with the rest of the cakes and filling.
Storing: Assembled whoopie pies can be stored in an airtight container for up to 3 days. If you need to stack layers, place a piece of wax paper/clingwrap between layers.
Finished Product: Sweet, creamy frosting, moist cake. Amazing.